Setting an Asset Display Image
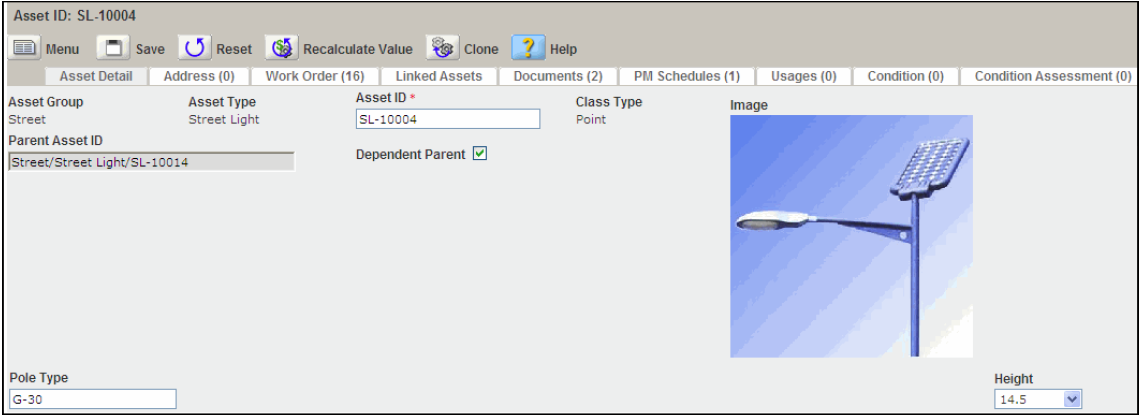
Customize the asset detail view by setting a display image for an asset record. When you upload an image of the asset, you can select that image file to display in the asset record. Users can view the asset’s image in the asset record detail tab as well as in the linked asset detail view. This allows users to visually identify assets and linked assets without leaving the asset detail view.
For information on uploading image files, see Attaching Files. For information on linked assets, see Managing Linked Assets.
To set an asset display image
Navigate to the Assets portlet and locate the asset record you want to work with (see Searching for an Asset).
Civic Platform displays a list of all of the assets currently assigned to you.
Click the asset ID link for the asset record for which you want to set a display image.
Civic Platform displays the asset details.
Click the Documents tab.
Civic Platform displays the Asset Documents.
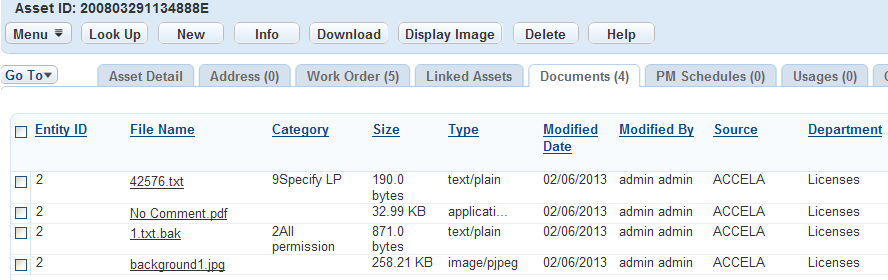
Select the image you want to use as the display image.
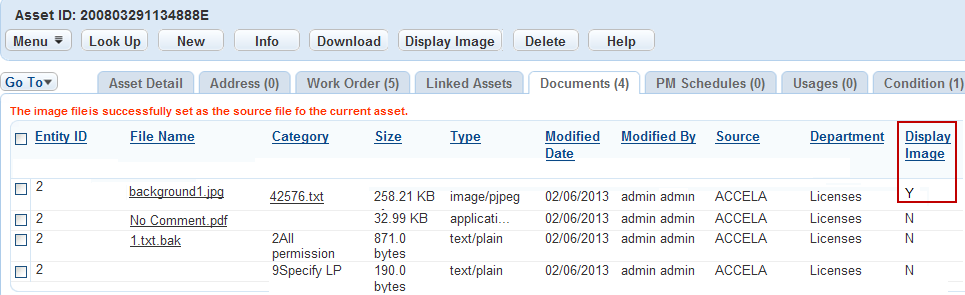
Click Display Image.
Civic Platform changes the value of the Display Image column of the image file to Y and displays the image in the Asset detail portlet.
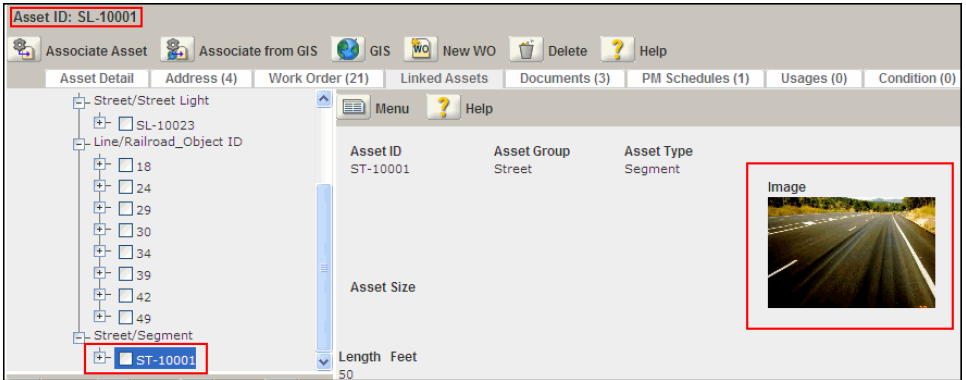
The display image also appears in the linked assets detail portlet. The asset’s own display image is visible by default in this portlet.
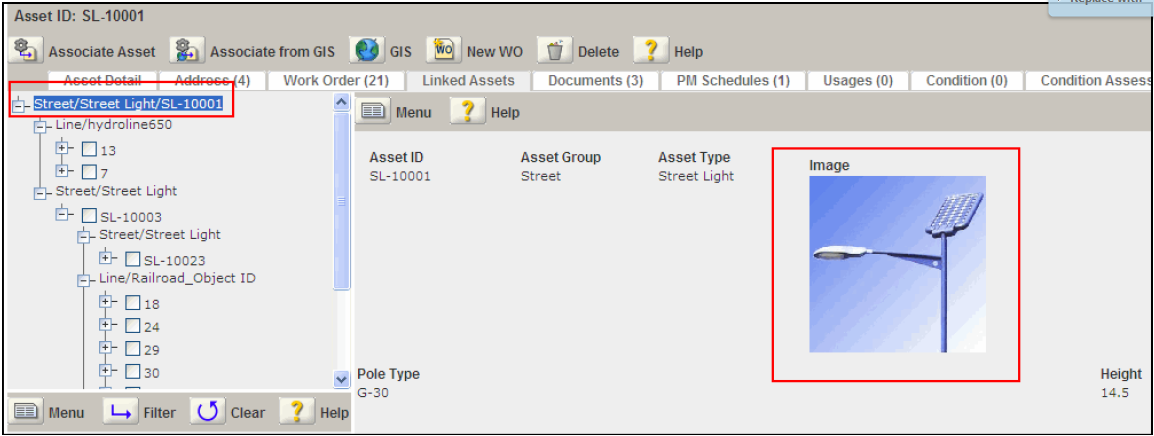
When a child or parent asset is selected from the linked asset navigation tree, the display image for the linked asset appears in the linked asset detail portlet.