Installing the Accela Electronic Document Review (AEDR) Client
Obtain the latest Accela Electronic Document Review installer and the Adobe Acrobat Configuration file (containing Accela-designed custom stamps and other custom tools) from the Accela FTP site. Make note of where you have stored the files.
| If you are installing Accela Electronic Document Review on a Windows 7 operating system, contact your IT representative before proceeding to ensure that you have sufficient permissions to install applications on your machine. |
Topics
Initial Installation
The Accela Electronic Document Review installation wizard walks you through the installation of Civic Platform Electronic Document Review for Adobe Acrobat Pro to your local machine. You can find an Accela Electronic Document Review Client installer, a proxy server setting tool, and an Acrobat Configuration Files installer that you can use to install Accela-built custom stamp and custom buttons.
Topics
Note:
If you have an older version of Accela Electronic Document Review installed, uninstall it before proceeding. See Removing an EDR Installation. |
Running the Electronic Document Review Client Installer
To run the Accela Electronic Document Review Client Installer:
Locate and double-click AEDR_Client_19.1.0.exe to launch the installation wizard.
The installer checks whether you installed .Net Framework 4.0 or 4.5 Client Profile and Adobe Acrobat Pro software. If you did not install the software yet, the installer displays a message indicating what is missing and then aborts. Otherwise, a Welcome screen displays.
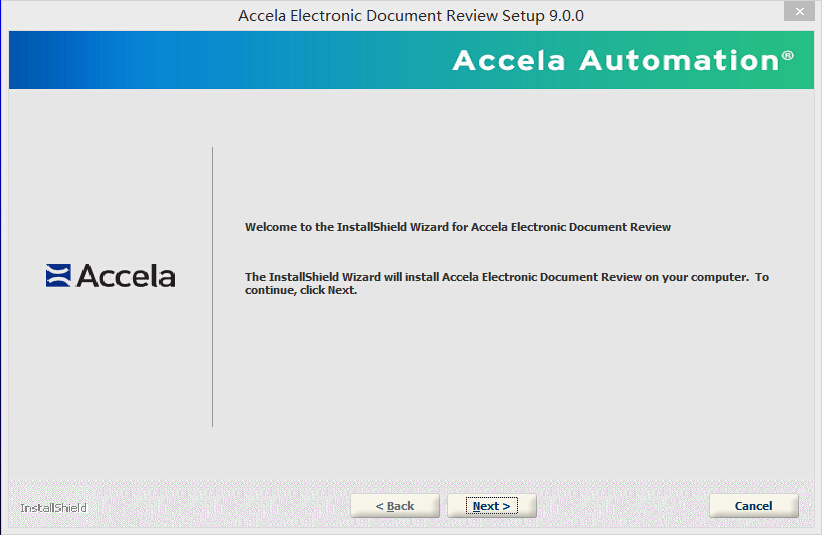
To exit the installation process at any point, click the Cancel button.
Click Next.
The License Agreement screen displays.
Read the license agreement. Use the Print button to print the terms of the license agreement if you desire.
Click “I accept the terms of the license agreement” to continue.
Note:If you do not accept the terms of the license agreement, you are not permitted to continue with the installation.
The Installer Selection screen displays. You can choose to install the Accela Electronic Document Review Client, the Acrobat Configuration Files, or both.
Mark the check box for either or both options and click Next.
The Choose Destination Location screen displays.
To accept the provided installation location:
Click Next.
To change the installation location:
Click Change....
Locate and select the destination folder you want to use for the installation.
Click Next.
Note:If your operating system is Windows 7 and you want to install the program to a non-default folder, make sure that you are the owner of the destination folder, and that you have ‘full control’ permissions for that folder. Check these settings by right clicking the destination folder name and selecting Properties.
If you are installing the Acrobat Configuration zip file, the “Choose an Acrobat Plug-in zip file” screen displays. See Running the Acrobat Configuration Files Installer for more information. If not, the “Ready to Install Program” screen displays. Skip to step 2 in Running the Acrobat Configuration Files Installer.
Running the Acrobat Configuration Files Installer
To run the Acrobat Configuration Files Installer to install Accela-built custom stamp and custom buttons:
Note:
For the custom stamps/buttons installation, you must organize your files with a proper structure within the zip file, for the installation wizard to correctly read the files in the zip file. The prescribed folder structure is as follows: FOLDERNAME.zip\FOLDERNAME\Disciplines\... For example, if you have a folder named AgencyStamps. The folder structure of this folder should be: Agency Stamps > Disciplines > Parks and Rec> Fire> ZoningThe Parks and Rec, Fire, and Zoning folders contain the stamp files. You can compress the Agency Stamps folder, and apply the folder name, Agency Stamps, to the zip file. |
Mark the check box for each set of tools (categorized by discipline) that you want to install, then click Next.
The Ready to Install Program screen displays.
Click Install.
The Setup Status screen displays. When the installation is complete, the InstallShield Wizard Complete window displays, indicating that installation is successful.
Click Finish.
Configuring the Proxy Server (Optional)
If you access the Civic Platform server through a proxy server, you must perform necessary proxy server configuration with the provided proxy server setting tool, for the Accela Electronic Document Review feature to work successfully.
To configure the proxy server with the proxy server setting tool:
Locate and double-click the AccelaDocumentCollaboration.exe located under the $INSTALL_HOME\Accela\DocReview folder, where $INSTALL_HOME stands for the installation location of the Accela Electronic Document Review Client.
A program icon displays in the Windows system tray.

Right-click the AccelaDocumentCollaboration icon and select “Proxy Server Settings.”
The Proxy Server Settings window displays.

Select the connection option. If you select the “Connect via a HTTP proxy server” option, complete the fields as required.
Address and Port Enter the IP address and port number of the proxy server. Bypass for local addresses Check this option if your local machine locates in the same local network as the Civic Platform server. Use authorization information Check this option if your proxy server requires a user authentication, and enter the authentication information in the Username, Password, and Domain.
Modifying an Installation
If you have already installed the current version of Accela Electronic Document Review client and/or Acrobat configuration files, and you need to add additional Acrobat configuration files, for example, you can run a modified installation. If you installed an older version, you must remove the existing Accela Electronic Document Review client, and then perform an initial installation using the current version.
Locate and double-click AEDR_19.1.0_<build number>.exe to launch the installation wizard.
The Accela Electronic Document Review Setup Maintenance program launches, and the Welcome page displays.
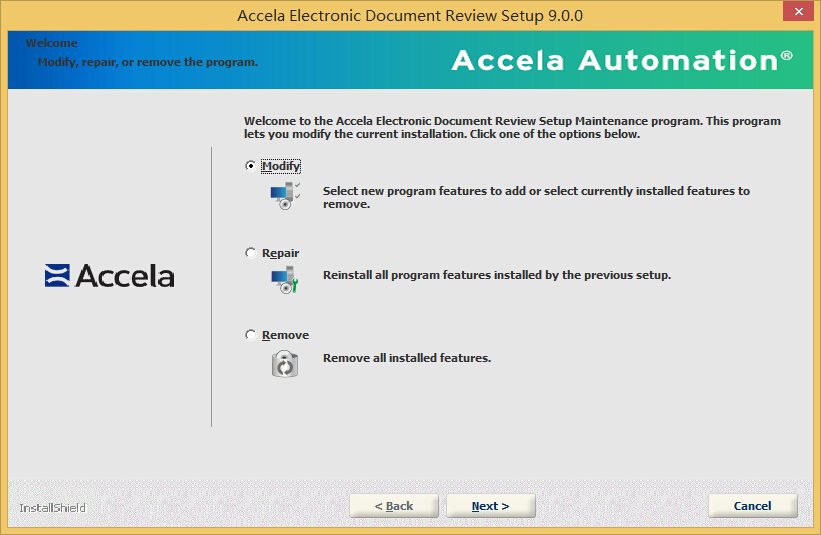
Select Modify and click Next.
The Installer Selection window appears. If you leave a box unchecked, Accela uninstalls that option. If this is not what you want to do, be sure to mark both check boxes.
Select both options and click Next (see note for prior step).
The “Choose an Acrobat Plug-in zip (compressed) file to Install” window appears. If you previously installed an Acrobat Configuration zip file, it is pre-selected.
See the note about custom stamp zip file organization at the beginning of this section and make sure the zip file containing your custom stamps complies with the listed requirements.
Click Browse to locate and select the zip file you want to use and click Next.
The installer extracts the content from the Acrobat plug-in zip file. The Select Disciplines screen displays. The screen categorizes the Accela-designed buttons and other custom tools by discipline.
Mark the check box for each set of tools (categorized by discipline) that you want to install, then click Next.
The Ready to Install Program screen displays.
Click Install.
The Setup Status screen displays. When the installation is complete, the InstallShield Wizard Complete screen displays, indicating that installation is successful.
Click Finish.
Removing an EDR Installation
Make sure you close Adobe Acrobat and have backed up any custom stamp, button, or other Acrobat tool files that you want to keep before proceeding.
| Following the steps in this section removes both the Accela Electronic Document Review Client and any Accela-designed custom stamps and custom buttons that you installed using this installer. The steps do not affect your own custom buttons and custom stamps as long as you used unique naming conventions. |
Locate and double-click AEDR_19.1.0_<build number>.exe to launch the installation wizard.
The Accela Electronic Document Review Setup Maintenance program launches, and the Welcome page displays.
Select Remove to remove all installed features, then click Next.
You need to confirm that you want to completely remove all the installed features.
Click Yes to continue. Click No to exit.
The Setup Status screen displays. When the process is complete, the InstallShield Wizard Complete screen displays, indicating that you removed the application and all components (including all Accela-designed custom stamps and custom tools).
Click Finish.