Install Ad Hoc Report Tool
Note:
Before proceeding, contact Accela Customer Support to obtain an ad hoc report license key. |
Locate and double-click the ad hoc report installer to launch the installation wizard. The installer file is named Setup_Adhoc_Report_19.1.0_161211.exe.
The installer checks whether the server meets the software requirements.
If you run the ad hoc report installer on Windows 2012 and Microsoft .NET framework 4.6 or 4.7.1 is not installed, the installer displays a message indicating what is missing and then aborts.
- Click Next.
- Read the license agreement. Use the Print button to print the terms of the license agreement, if desired. Accept the agreement to continue.
The Virtual Root and Web Site screen displays.

Enter the virtual root and select the website for your ad hoc report application. Click Next.
The Choose Destination Location screen displays.
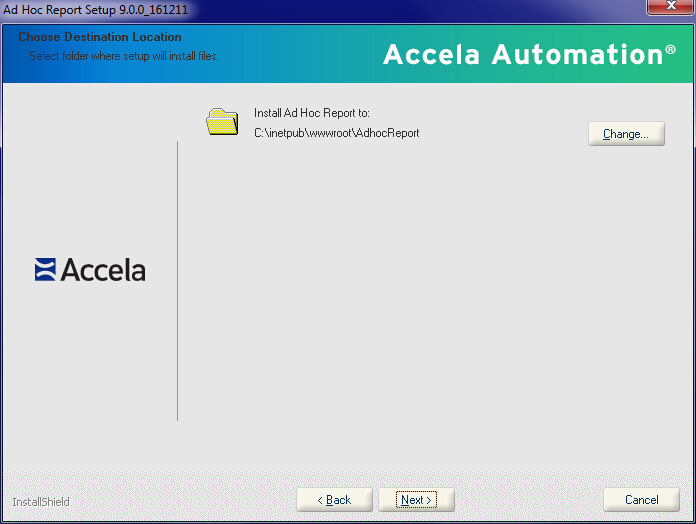
To accept the provided installation location
Click Next.
To change the installation location
Click Change....
Locate and select the destination folder you want to use for the installation.
Click Next.
The Enter License Key screen displays.

Enter the license key you obtained from Accela Customer Support. Click Next.
The Select Database Type for Ad Hoc Report screen displays.
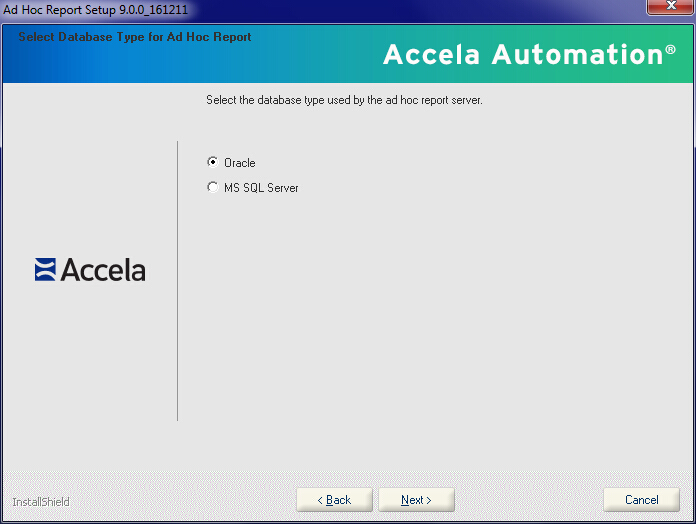
Select the database server type, and click Next.
The Set up Oracle (or MS SQL) Server Database screen displays.
Figure: The Set up Oracle Server Database screen

Figure: The Set up MS SQL Server Database screen
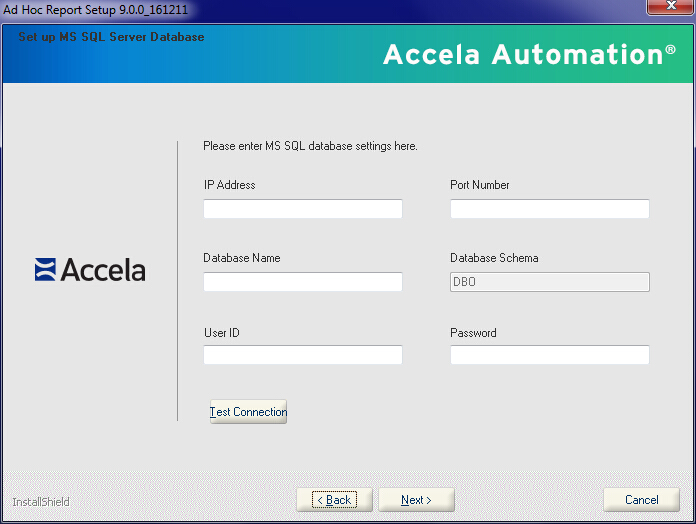
Enter parameter values for the Oracle database server or the SQL Server database server, and click Next.
The Enter Civic Platform Application Server IP and Port screen displays.

Enter the Civic Platform application server IP and port information. Click Next.
The Enter Civic Platform Web Server Host and Port screen displays.

Enter the Civic Platform web server host and web server port information. Click Next.
Note:You must enter the domain name of the web server in the Host Name field.
The Start Copying Files screen displays.

Click Next.
The Setup Status screen displays. A progress bar displays to give you a visual indicator of where the installer is in the process. When the installation is complete, the InstallShield Wizard Complete window displays, indicating that installation is successful.
Click Finish to complete the installation.
A popup dialog displays with the InstallerInfo file content.
Follow the instruction in the popup dialog to add the ad hoc report URL as a Standard Choice in the super agency website.