Geo-locating Records
Accela GIS provides geographic visualization of Civic Platform records and the ability to process records directly from a map.
Showing records from a map
Using the Map dashboard in Civic Platform, you can see and analyze Civic Platform records within the context of their geographic locations. When you select one or more map locations, the Show Records option is available on the context menu and displays all records associated with the selected GIS feature, providing links to related transaction details.
The following diagram shows a sample record and related transaction detail associated with a selected parcel on the map. You can click a record link to see details on a record intake form.

 .
.The following diagram shows the records associated with the selected GIS objects on the Contents panel:
Creating a new record from a map
While working with map features, you can create records to be associated with your selected GIS objects. This allows you to visually confirm the geographic objects within your agency's jurisdiction that requires additional action, and also allows you to bind GIS information with transactional records in Civic Platform. These records can be a permit application, work order, service request, asset condition assessment, and other record types supported in Civic Platform.
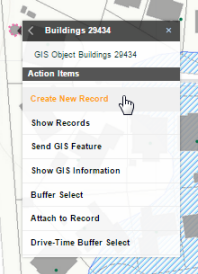
You can create a record for a single GIS feature, or create records for multiple selections. If you selected a single map feature, create a new record by choosing Create New Record from the context menu. For example:
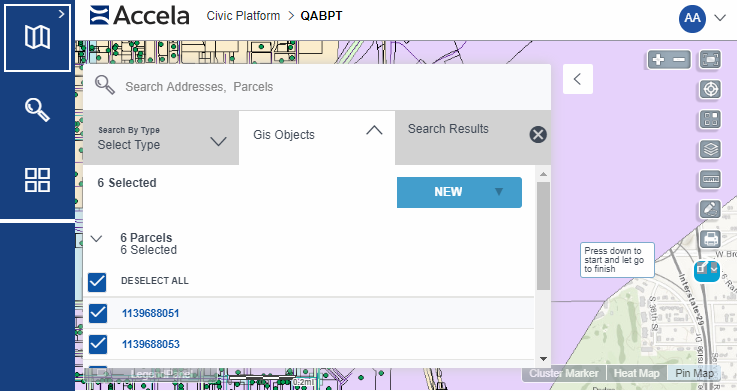
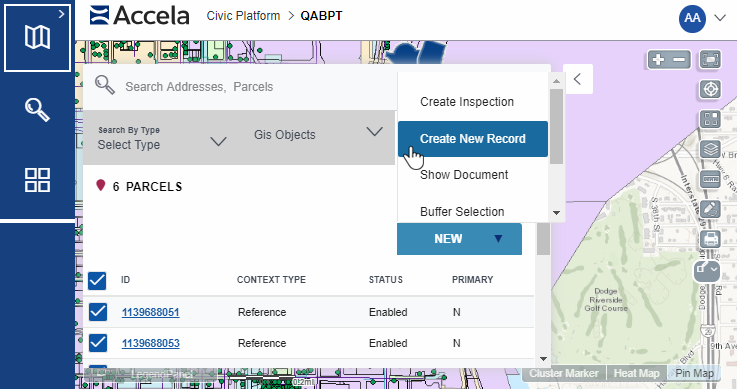
If you selected multiple map features, select the GIS objects displayed on the Search Results tab, and choose Create New Record from the New menu. For example:
Create New Record prompts you for a record type, and opens a Civic Platform intake form. It automatically displays GIS information from the selected GIS objects so that you do not need to enter the GIS information. If you selected multiple GIS objects, you will be prompted to choose the primary GIS object to attach to the new record. Any reference information that already exists in Civic Platform such as the parcel information also automatically displays on the intake form.
|
Note: The same Civic Platform user group permissions apply when
creating a record from a map. For example, if you can create
work orders and service requests in Civic Platform, you can also
create them from a map.
|
Attaching GIS objects to a record
While working with records in Civic Platform, you can create and attach GIS objects to the current record. This allows anyone working with the record to geographically visualize the impact or extent of the transaction record within the agency’s jurisdiction. For example, a permit clerk can draw the exact location of a new property including the extent of its environmental impact. The geographic data enhances the transaction record and can help with facilitating efficient and effective transaction workflows.
From the GIS section of a record detail, you can:
-
Attach one existing GIS objects to the record:
-
From the GIS menu, select View GIS Objects.
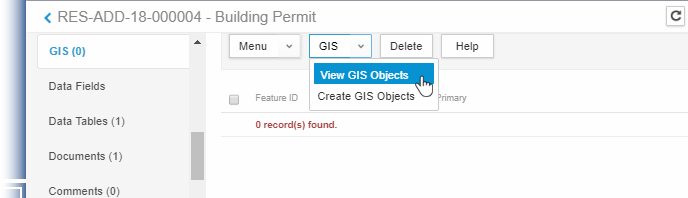
Civic Platform opens the map.
- Navigate the map to find and select the map features you want to attach to the record.
- From the context menu, select Attach to Record.

-
If you selected multiple GIS objects, Civic Platform prompts you to choose the primary GIS object. For example:

-
Click the < navigation link at the top left corner of the map to go back to the record detail.
The GIS section shows the selected GIS objects that have been attached to the record. The following sample diagram shows the two selected parcels that are now attached to a record:

-
-
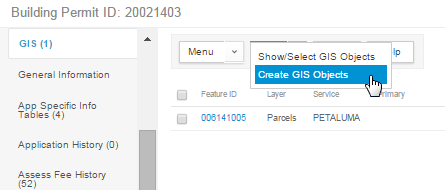
Create a new GIS object before attaching it to the record:
-
From the GIS menu, select Create GIS Objects to open the map.
-
Navigate the map to the location where you want to create a map feature. See Creating and Editing Map Features.
-
-
View a GIS object on the map:
From the list of map features on the GIS section, click the Feature ID of the GIS object you want to view. The map dashboard highlights the selected GIS object. For example:

-
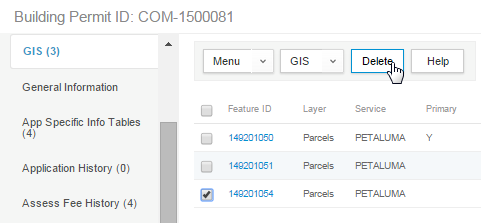
Detach a GIS object from the record:
From the list of map features on the GIS section, select the Feature ID you want to delete, and click Delete: