Workflow Redesign for Civic Platform's New User Interface
Topics:
- Overview
- Migrating to New Workflow Designer
- Enhanced Card Views
- Enhanced Workflow Designer Functionality
- Enhanced Display Order Control
Overview
The new Workflow Designer offers a number of new features, a new look and feel, improved usability and additional customization options. In addition, Classic Workflow users can now prevent workflow incompatibility issues by adopting the new Workflow Designer available in the Civic Platform 9.0.0+ release.
Migrating to New Workflow Designer
Workflows created in Classic Workflow cannot be edited in Workflow Designer because of configuration incompatibilities. Workflows created in Workflow Designer may lose their intended formatting and configurations when edited in Classic Workflow. As a result of these incompatibilities, Accela strongly recommends users upgrade to Workflow Designer in the 9.0.0+ release.
The migration process is straightforward, and this Community article provides a step-by-step walkthrough of the process.
Enhanced Card Views
Summary Card View
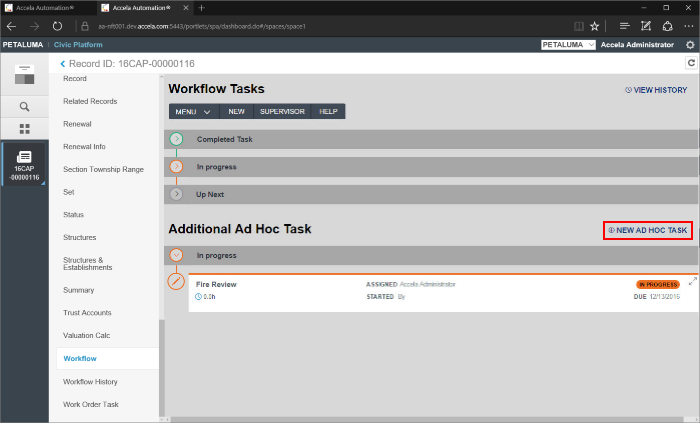
The Summary Card View allows users to track the progress of an application throughout the workflow process. Users can easily access information for each step in the process and quickly see which steps are complete and incomplete, required and optional.

Each set of workflow tasks, Completed, In Progress and Up Next, can be collapsed in order to help the user focus on a specific task or set of tasks. The Completed and Up Next tasks will be collapsed by default. Users can quickly expand collapsed task sets and then expand the individual tasks that are most pertinent to their jobs. This puts important information, such as Task-specific information (TSI) or ad hoc processes, at the user's fingertips without presenting an overly detailed and distracting view of the entire workflow process.

Ad Hoc tasks will be displayed in the same manner, with Completed and In Progress tasks grouped together so they can be quickly collapsed or expanded. The method for creating an Ad Hoc task is unchanged in 9.0.0+. Simply click the New Ad Hoc Task link to add it to the workflow.
Detail Card View
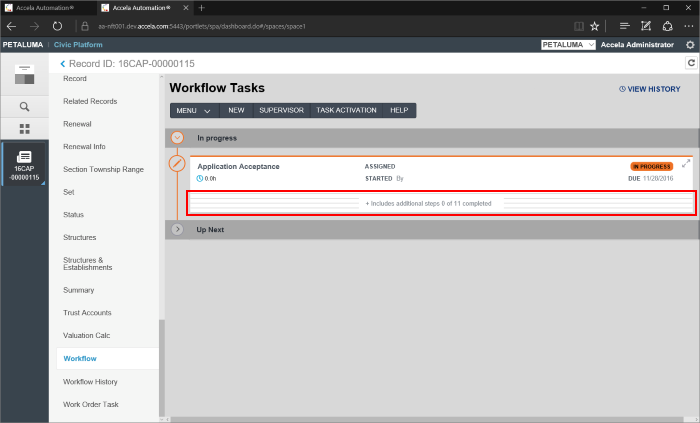
The Detail Card View allows users to see the detailed step information that is pertinent to a specific workflow task so they can track, update and move an application forward.

If the task has been set up on the workflow to include sub tasks, they can be accessed by clicking the collapsed Sub Task area on the parent task.
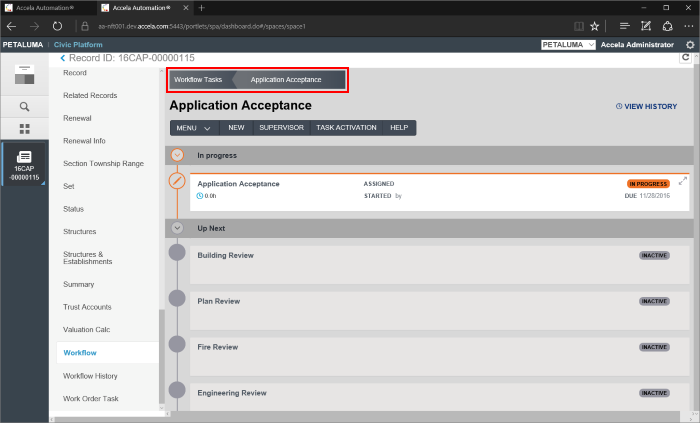
Sub tasks display just like standard tasks, with Completed, In Progress, and Up Next task sets. To return to the parent task, click the Workflow Tasks link at the top of the page.
Enhanced Workflow Designer Functionality
Enhanced Task Customization
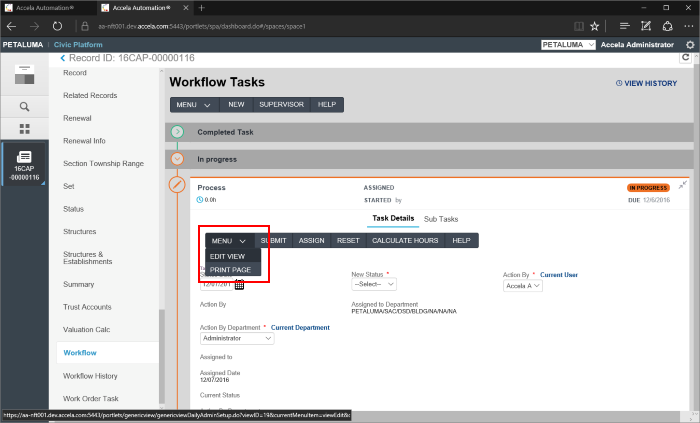
Agency Administrators can use the new Workflow Designer to easily configure individual tasks to meet the specific needs of a user group. Simply select Edit View from the Menu drop-down on the task to edit that task.
The new Workflow Designer is built on the Bootstrap 12-column grid system. This framework provides responsive output with easy-to-use snap to grid functionality. Users can select a field from the Controls box on the left and drag the field into the desired position on the grid. A dotted blue box will indicate where the field will snap into the grid. Once the field has been placed on the grid, the user can adjust the width accordingly.

Once a field has been placed on the grid, the user can click the Properties button on the field container to open the field Properties window. Here users can customize field labels, input formatting and other details.

Users can also use the Text button on the task menu to create a static text field in the grid. This text field can be placed anywhere on the grid and edited to display user instructions, hyperlinks or other custom content.

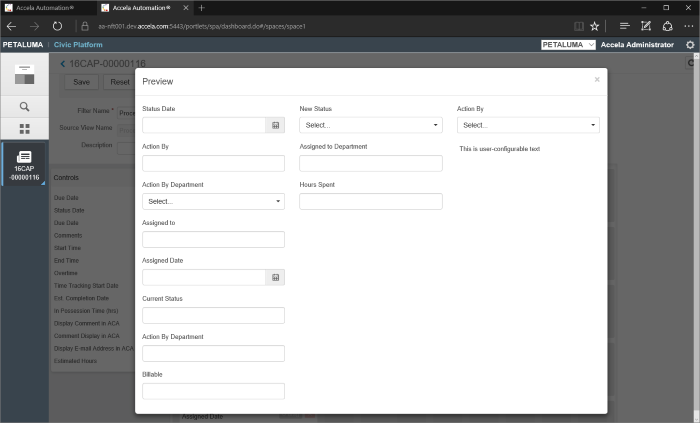
The Preview button is used to preview the edited task.

Clicking the Preview button opens the Task Preview window so users can confirm the task layout meets their needs.
Enhanced Display Order Control
The Display Order field has been added to the Workflow Designer Administration window in the 9.0.0+ release. This enhancement allows users to specify a display order for workflow tasks.
By selecting a workflow task and specifying a display order between 1 and 999, users can control how the task is displayed in the new Workflow Designer window. This will not affect the order in which the tasks must be completed, but only the order in which they are displayed. Users will find this useful when designing a workflow that includes multiple parallel tasks that can be processed concurrently, but when a specific display order makes sense.
