Creating a GIS Asset Sync Batch Job
You can create a batch job that automatically updates an asset type with any information entered for asset records of that asset type in Accela GIS. For example, an agency worker in the field is observing multiple hydrants over the course of a week. You can create a batch job that takes all information that users add to records of the type Hydrant and that run each Friday afternoon. All information you enter in the field using Accela GIS also enters in the corresponding asset records. Schedule this batch job to run at regular intervals so that information gathered in Accela GIS is regularly and automatically incorporated into your regular asset records.
Note:
If you want to copy attribute information in the sync batch job, you must link the GIS attribute fields with attribute fields in Accela Civic Platform - Asset before running the synchronization. See Asset Types. |
To create a new GIS asset synch batch job
Access the Batch Jobs portlet (Accessing the Batch Jobs Portlet).
Click New.
Civic Platform displays the New Batch Job portlet.
Complete the following required fields:
Name Enter an intuitive name for the batch job. Description Enter a brief description of the batch job. Email Enter the email address where you want Civic Platform to send emails after job completion, no matter whether the job is successful or not. You can configure the email template named NOTICE_OF_BATCH_JOB_COMPLETED to customize the notification. For information about how to edit an email notification template, see Working with Communication Manager. Job Server Select the server for running the batch job. Job Type Select job type “System” from this drop‑down menu. Service Category After you select the Service job type from the Job Type drop‑down menu, the Service Category drop‑down menu displays. Select Asset Sync. Click Submit.
Civic Platform creates the batch job and then displays the Batch Job Detail portlet.

Associate asset types to the batch job by completing the following steps:
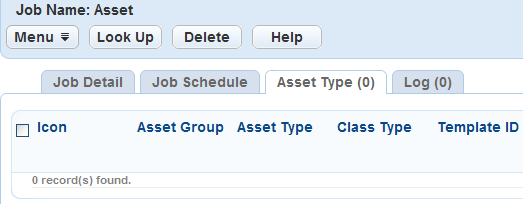
Click the Asset Type tab.
Civic Platform displays the Asset Type portlet.
Click Look Up.
Civic Platform displays the Asset Type Search portlet.
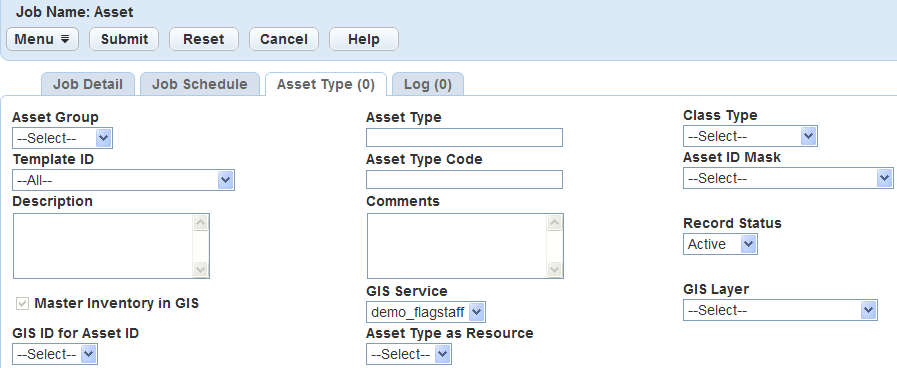
Complete any fields that display. For a description of the fields, see Table 1.
Click Submit.
Civic Platform returns a list of asset types that match your search criteria.
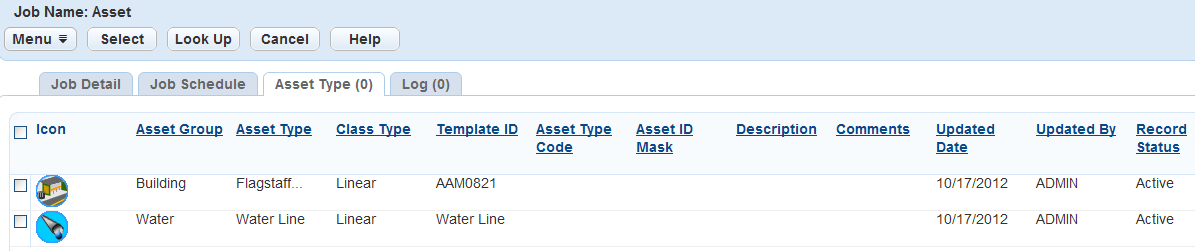
Click the asset type(s) you want to add to the batch job.
Click Select.
Civic Platform adds the asset type(s) to the batch job.

Define the Job Schedule by completing the following steps:
Click the Job Schedule tab.
Civic Platform displays the Job Schedule portlet.
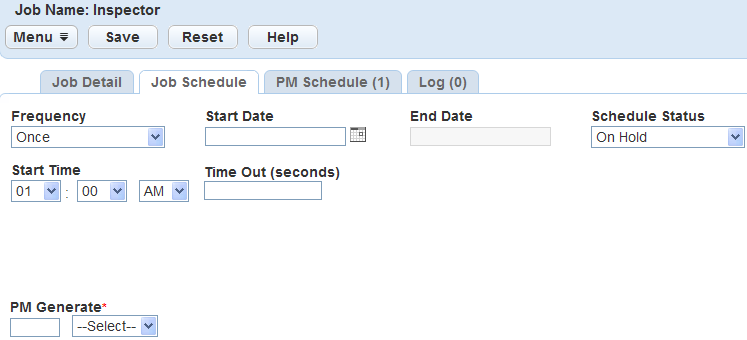
Complete the following fields:
Start Time Determine the time of day at which the batch job begins running by selecting hour, minute, and a.m./p.m. from drop‑down menus. If you set a batch job Schedule Status to Active but do not specify a Start Time, an error message displays when you try to save the batch job.
Schedule Status Use this drop‑down menu to turn a batch job on and off. Select Active to activate the batch job. Select On Hold to deactivate the batch job and save its information. Start Date Enter the date on which the batch job starts or select a date by clicking on the data picker beside the field. If you set a batch job Schedule Status to Active but do not specify a Start Date, an error message displays when you try to save the batch job.
Time Out (seconds) Enter the number of seconds a batch job attempts to run before timing out. Frequency Select the frequency with which the batch job runs from this drop‑down menu. Batch jobs can run one time, daily, weekly, monthly, or yearly. End Date If you select a value other than Once in the Frequency field, the End Date field becomes active. Enter the date on which the batch job stops running or select a date by clicking on the data picker beside the field. PM Generate PM Generate is a required field that enables you to determine how far in advance the batch job generates work orders. Enter a number in the first field, then select Days, Weeks, Months, or Years from the drop‑down menu in the second field. For example, to generate work orders two weeks in advance of the PM Schedule batch job, enter 2 in the numeric field and select Weeks from the drop‑down menu. Or, enter 15 in the numeric field and select Days from the drop‑down menu.
Click Save.
Civic Platform saves the Job Schedule the batch job.
Table 1. Batch Job Asset Type Fields Asset Group Use the drop-down menu to select the asset group. Asset ID Mask Use the drop‑down menu to select the default prefix for the asset type you are looking for. An ID mask can contain strings that show part of the application number that Civic Platform recognizes and acts on before showing the application number. Asset Type Enter an asset type. Asset Type Code Enter an asset type code. Class Type Select an asset class type from this drop‑down menu. Comments Comments in the asset type record. Description The description field of the asset type you are searching for. GIS ID for Asset ID The GIS ID field that you want to map to the asset ID. If you specify a related table, this drop-down list is populated with the fields in the table. Otherwise, this drop-down list is populated with the fields in the GIS layer (feature class). GIS Layer The GIS layer on the selected GIS service that stores the GIS objects. In Esri ArcMap, a feature class is represented visually on the map as a layer. GIS Service The GIS service that stores the information about GIS objects. The GIS services listed on the dropdown list are configured in Accela GIS administration site. Master Inventory in GIS This read-only option indicates whether the asset type is present in the inventory of all mapped objects in Accela GIS. Record Status Select Active, Inactive, or All from this drop‑down menu. Template ID Select a template from this drop‑down menu.