Setting Up the Facebook Integration
Before you can begin using the Facebook integration you must follow each of the procedures listed below. Do not skip any steps unless they are optional.
Topics:
Creating Your Agency ACA-Facebook App
To enable public users to access the services available in your Citizen Access implementation from within Facebook, you must first create an ACA-Facebook app using the procedure below.
To create your agency’s ACA-Facebook app
Go to https://developers.facebook.com.
Click Apps.
Login with an existing Facebook account or create a new one that you can use specifically for maintaining your Accela Facebook integration.
If you choose to create a new Facebook account for this purpose, Facebook might require you to submit a scanned government-issued ID card to verify your identity. Facebook has implemented this new security measure to protect against fraudulent activities. This security measure is not required if you log in with an established Facebook account.
Click Create New App or Go To App. The button you see depends on whether you have previously developed any Facebook apps.
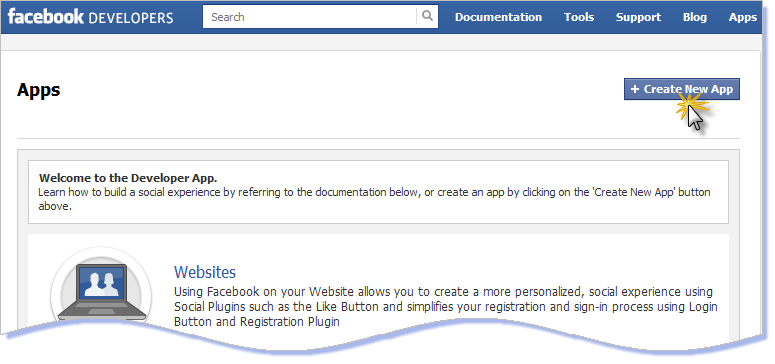
The Create New App window displays.

In the App Name field enter a name for your app, using this syntax:
<Your Agency Name> <Page Tab Name>Choose a name that meets your agency’s preferred nomenclature, for example, “New York State Online Services.” This section uses the fictitious name “City of Progress Citizen Access” as an example.
The App Namespace field is optional. Leave this field blank for now; you can provide this detail later in this procedure.
Web Hosting is optional. Leave this option blank.
Click Continue.
A Security Check displays.
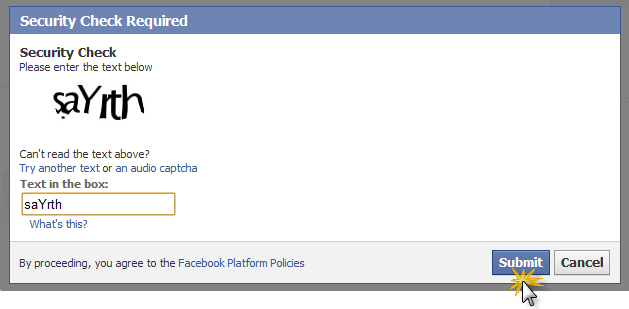
Enter the Security Check text in the box provided and Click Submit.
The following message displays.

Decide whether you want to use a mobile phone or a credit card to verify your account.
If you choose the mobile phone option and you previously connected your mobile phone to a different Facebook account, you must re-establish the connection with your mobile phone on your other Facebook account. You can only associate a mobile phone number with one Facebook account at a time.
Click Mobile Phone or click Credit Card and complete the process of verifying your account.
Return to the Create New App page and click Continue.
A second and final Security Check window displays.
Enter the security code in the box provided and Click Submit.
The Apps Settings page displays.
Figure: App Settings

Enter information into the following fields, which correspond to the green labels A - K in the sample screen above. Leave all other fields blank or accept the default values.
Table 1. App Settings Fields A Click the generic placeholder image to the left of the App Name to upload a logo for your agency. This image becomes the profile picture for your agency. B The App ID displays here and is a critical component of your ACA-Facebook app; you must copy and paste this App ID when you get to of Adding Your Facebook App to Your Agency Page, later in This section. C Click Edit Icon to upload an icon to represent your agency’s ACA-Facebook app. This icon becomes the icon that users click to access Citizen Access from your agency’s Facebook page. Basic Info D The Display Name field displays the name you entered in . Accept this default value. E In the Namespace field enter the name you want to use for the app’s URL. Enter all lower case letters with no spaces or special characters. Use the following syntax:
In this example, entering cityofprogress in the Namespace field creates the following URL: https://app.facebook.com/cityofprogresscityofprogressF In the App Domains field enter the server domain for the server where you host your Citizen Access implementation. Use the following syntax:
If you are not sure what to enter here you can verify it by checking the URL of the login page for your Citizen Access implementation.aca.<youragency>.comSelect how your app interacts with Facebook G Expand the Website with Facebook Login section. In the Site URL field, copy and paste the following site URL text, but change <APP_DOMAIN> in the sample below to your app domain. https://<APP_DOMAIN>/facebook-aca/socialmedia/facebookportal.aspx?&fb_source=search&ref=ts
When you finish entering the site URL it should look similar to this example:https://aca.cityofprogress.accela.com/facebook-aca/socialmedia/facebookportal.aspx?&fb_source=search&ref=ts
You will use this site URL again when you get to fields H and J below.H Expand the App on Facebook section. Copy and paste the Site URL (G) into the following fields: (H) Canvas URL (H) Secure Canvas URL I Expand the Page Tab section. In the Page Tab Name field, enter the text for the link to your ACA-Facebook app. The text that you enter here becomes the link users click to access Citizen Access from your agency’s Facebook page. For example, you can enter Citizen Access, Online Services, or any text you prefer. J Copy and paste the Site URL (G) to the following fields:(J) Page Tab URL (J) Secure Page Tab URL K Set the Page Tab Width to Wide (810px) When you finish entering items A - K, Click Save Changes and move on to the next procedure, Enabling Authenticated Referrals.
Enabling Authenticated Referrals
Authenticated referrals is a Facebook feature that ensures all referral traffic from Facebook to your application already has a connection to Facebook. With this feature, when users come to your app they are automatically logged in and, if you configure the option, they receive a prompt to enter any permission information you configure.
This feature provides the ability for public users to log in to Citizen Access using their Facebook account credentials; Civic Platform saves the password and establishes a link between Citizen Access and their Facebook page. Public users can also choose to create a new Citizen Access account and use their Facebook credentials to set up their Citizen Access account.
After you enable Authenticated Referrals, when a new user clicks your app on Facebook they receive the Authentication prompt. This dialog requests the permissions specified in the User & Friend Permissions field described below.
To enable authenticated referrals
Go to https://developers.facebook.com.
Click Apps > Edit App > Auth Dialog.
The New Auth Dialog page displays.

In the User & Friend Permissions field enter email and user-birthday, as shown in the sample screen.
Click Save Changes.
Creating Your Agency Facebook Page
If your agency already has a Facebook page you can skip this section.
Go to http://www.facebook.com/pages/create.php and create a Facebook page for your agency, as follows:
Click Company, Organization or Institution.
Choose the Category: Government Organization.
In the Company Name field enter the name of your agency. For example, “City of Progress.”
Click “I agree to Facebook Pages Terms.”
Click Get Started.
Upload a Profile Picture and Click Save Photo.
Enter basic information about your agency and Click Save Info.
Set the Facebook Web Address for your agency and click Set Address.
Facebook displays your agency page.
Facebook prompts you to “like” your page, add a time line, and provide information to populate your new page.
When you finish populating your agency’s Facebook page, it displays with the Admin Panel active. Click Hide in the upper-right corner of the Admin Panel to display your page in public user mode, then move on to the following procedure.
Adding Your Facebook App to Your Agency Page
To add your Facebook App to your agency’s Facebook page:
Using Notepad or another text editor construct a URL based on the following example.
https://www.facebook.com/dialog/pagetab?app_id=44090126958236711&next= https://aca.dev.accela.com/cityofprogress
The syntax for this URL is:
https://www.facebook.com/dialog/pagetab?app_id=YOUR_APP_ID&next=YOUR_ACA_DOMAIN/YOUR_AGENCY’S_NAMESPACEWhen you finish constructing this URL copy it to your clipboard (ctrl + c).
Open a new browser tab and then paste the URL into the address field (ctrl + v).
The following page displays.
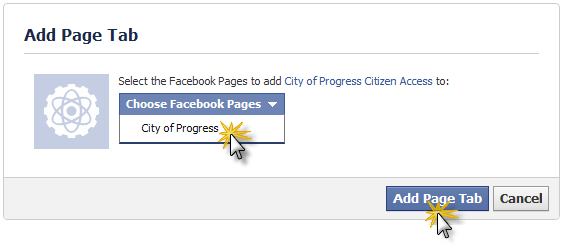
Choose your agency’s Facebook Page and then click Add Page Tab.
In Facebook, find your agency’s page; for example, enter City of Progress in the Search field and press enter.
Click the search result that matches your agency’s page.
Your Agency’s page displays with the Citizen Access app.
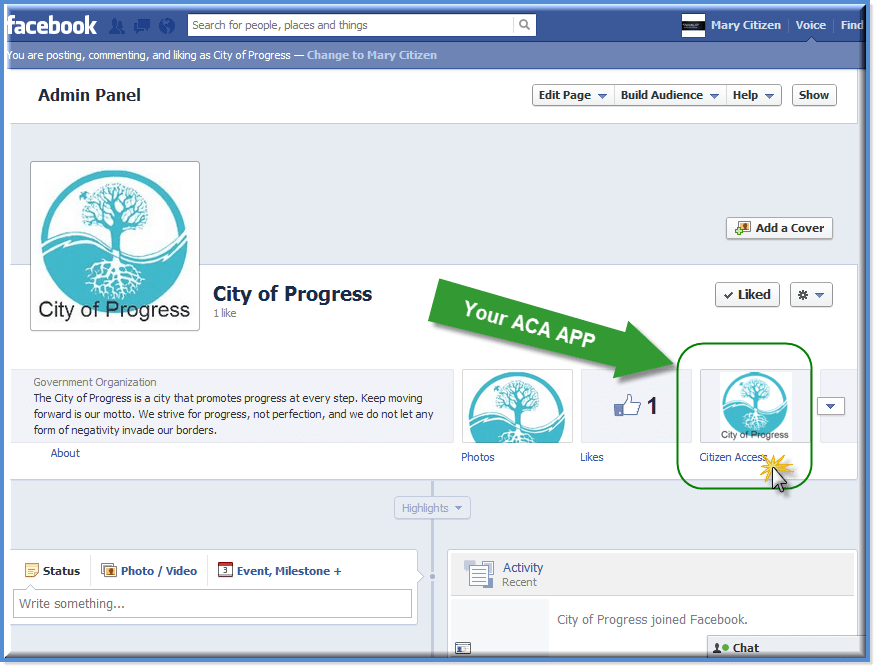
Click the link to your agency’s ACA-Facebook app to load ACA.
The Citizen Access Login page displays.
Sign in with your Citizen Access credentials; Civic Platform saves the password and establishes a link between Citizen Access and your Facebook page. This one-time process establishes your login credentials. You can also choose to create a new Citizen Access account and use your Facebook credentials to set up your Citizen Access account.
Customizing the Facebook Login and Landing Pages
You can easily customize the text and icons on the login page and landing page public users see when they click the ACA-Facebook app in Facebook. This process is illustrated in the sample screen below.
To customize the Facebook Login and home pages
Sign in to Citizen Access Admin: Go to Civic Platform > Admin > Setup portlet > Administration > ACA Admin.
Navigate to General Settings > Social Media in the left pane.
Click one of these options:
To customize the Login page text and its icons, click Facebook Account Login in the left pane.
To customize the page that displays your agency’s Citizen Access services, click Facebook Home Page in the left pane.
Your Facebook app displays in Citizen Access.
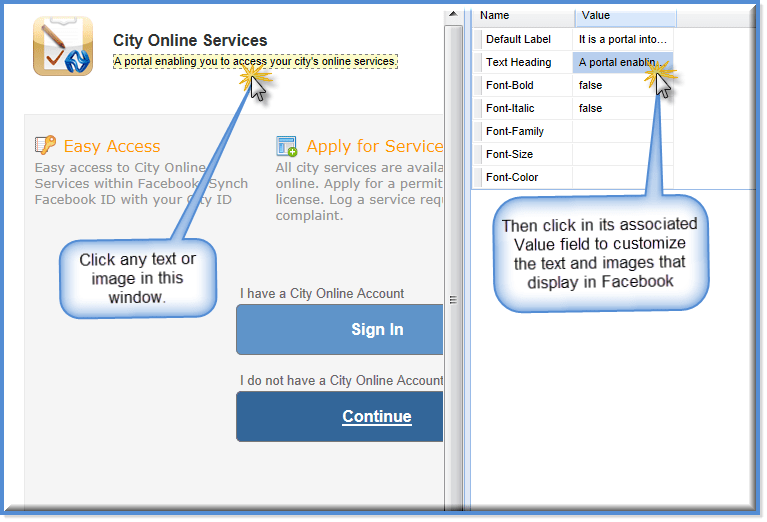
Refer to Customizing Text and Images on Web Pages in the Citizen Access Administrator Guide for detailed instructions on how to modify the text and images.