Base Civic Platform Environment
Topics
- Install Civic Platform Base
- Installing Civic Platform Components
- Configure Civic Platform components
Install Civic Platform Base
The Configuration Checklist provides a listing of the configuration parameters associated with a Civic Platform instance. Prior to running the Civic Platform installer, write down the parameter values to use for your new installation. Obtain these parameter values from the ServerConfig.properties file from a previous installation, which are backed up automatically to a folder named Accela_backup when you uninstall the previous version.
To install the Civic Platform 19.1.0 Base:
- Back up your current Accela directory. See Backing Up Civic Platform.
- To use a previous instance to populate certain screens during this installation, rename the configuration folder. See Renaming Your Configuration Folder.
- Uninstall any previous version of Civic Platform. Refer to Installation Maintenance.
OR
Install a new version of on a different server from any previous version.
When installing any application, there are many processes that can potentially cause problems. It is not possible to list all potential conflicting software, but these guidelines include some best practices.
- Reboot the Civic Platform server prior to install to allow any PendingFileRename operations.
- Stop any running Civic Platform services if present.
-
Stop any anti-virus software, particularly real-time protection.
Note: Be sure to restart any services stopped after installation completes (including Civic Platform services, anti-virus software, and any others). - Run the installer with administrator permissions.
- Unblock files or run streams after downloading.
- Run the base installer (.exe, contains base in the name) in the setup folder.
-
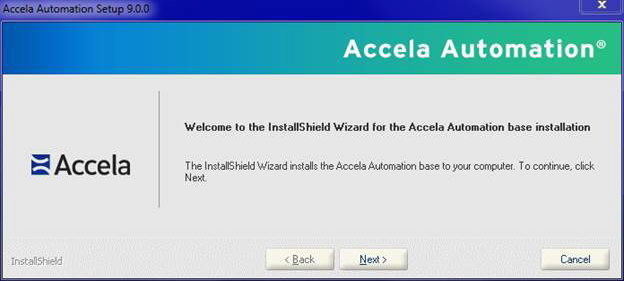
On the Welcome screen, click Next.
-
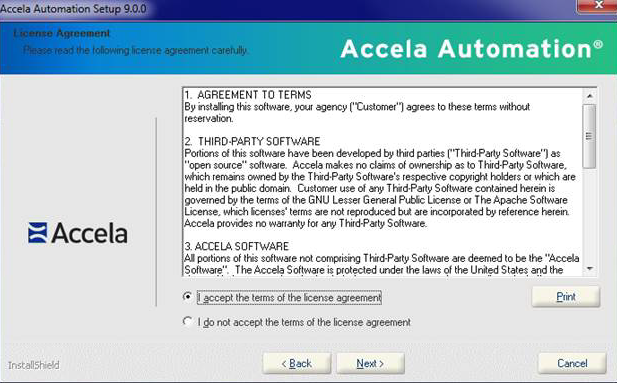
Accept the terms of the license agreement, and then click Next.
-
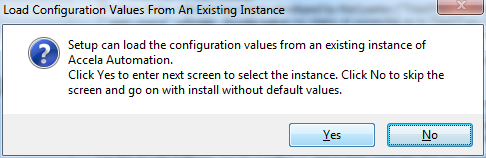
On the Load Configuration Values From An Existing Instance prompt, click No to manually enter the configuration values, or Yes to import the values from another installation.
-
Enter the instance name (examples: prod_19.1.0, test_19.1.0, or dev_19.1.0), then click Next.
The base and service pack installers use the instance name as part of the service name (see Installing the Latest Application Code).
Tip: Include the version number in the instance name, which identifies the Civic Platform instance being installed.
-
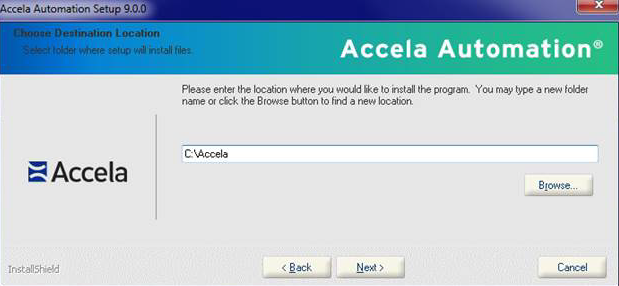
Install Civic Platform on a drive designated for data storage. This safeguards the implementation as this drive is not typically affected by automatic Windows updates and is often scheduled for backups by IT staff.
-
Click Browse to select a different location, such as the D:\ drive (the default destination folder is C:\Accela).
Note: Do not include spaces in the destination folder name.
- Click Next.
-
-
Select the Civic Platform components to install.
 Note:
Note:- If external user are to access the implementation (such as Citizen Access users), use full server names including the domain when installing Civic Platform components (example: hostname.domain.com).
- To install a new database, select Database Install/Upgrade. To upgrade the database, select Database Install/Upgrade or use the manual procedure for updating the database.
Installing Civic Platform Components
To install Civic Platform components:
- Configure the Civic Platform components that you want to install (see Managing a Civic Platform
Configuration).
The Ready to Install Civic Platform screen displays.

- Click Install to start the installation process.
The Setup Status screen displays.

This Setup Status screen shows the progress of Accela Products installation. After the progress bar completes, setup performs actions based on the software components selected to install. The installer either detects an error or completes successfully.
-
The installer detects an error.
The Possible errors running install screen displays.

- Review the log file that the screen indicates.
- Resolve the problem.
- Click Next.
- Re-run the installation for the server that failed.
Note:When re-running the installation, you must select all server components you want to install.
OR
-
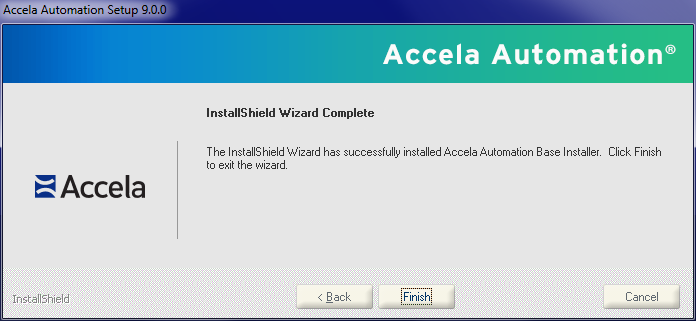
The installation successfully completes.
The InstallShield Wizard Complete screen displays.
-
- Click Finish to complete the installation.
- If required, manually upgrade the Civic Platform database (see Manually Upgrading the Civic Platform Database).
- Run the Civic Platform 19.1.0 Application installer (see Installing the Latest Application Code).
Configure Civic Platform components
Add, remove, repair, or configure components. Access this screen either when performing a new installation or when maintaining an existing installation (see Installation Maintenance).Topics
ColdFusion MX Web Server and Civic Platform Web Server
The Civic Platform web server configuration consists of two parts:
- The optional ColdFusion MX web server (as part of a Civic Platform installation or ADS server installation).
- The Civic Platform web server.
To configure both servers:
- Navigate to the screen to select components. (see Install Civic Platform Base).
- Select Web Server or Accela Document Service (ADS), then click Next.
- If you selected to load configuration values from an existing Civic Platform
instance, and the instance contains customized SSO adapter files, the installer
requires you to select whether to use the existing SSO adapter files. Note:
- Because the installer copies the SSO adapter files to both the web and application servers, select the same option in the SSO Adapter Setting screen for both.
- If the installer detects no existing SSO adapter files to copy, the installer skips this step and copies default SSO adapter files to the web server.
The SSO Adapter Setting screen displays.
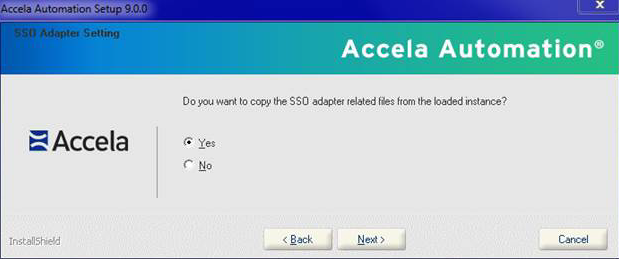
Click Yes to copy the SSO adapter files from the existing instance.
OR
Click No to copy default SSO adapter files to the web server.
The SSO Adapter Related Files screen displays.

- Click Next.
The ColdFusion or Railo screen displays.
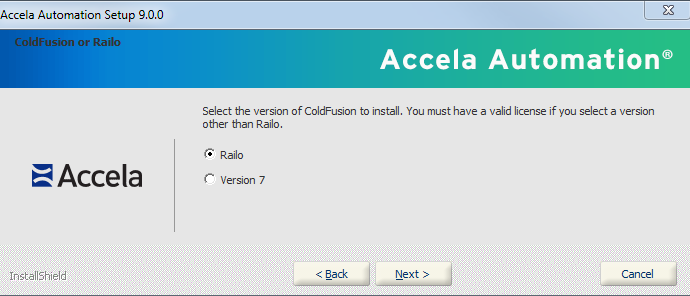
- Select the ColdFusion version to install.
For information on using Railo, refer to the Accela Success Community.
- Click Next.
The Set up ColdFusion MX Web Server screen displays.
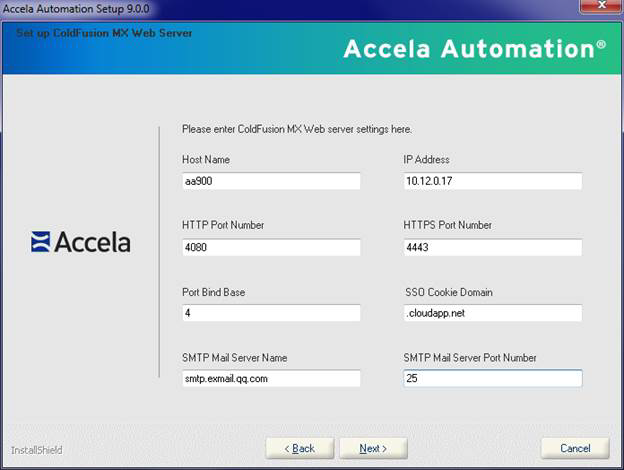
- Enter parameter values for the ColdFusion web server.
To use the parameter values from a previous installation, get the values stored in \\Accela_backup\<version>\av.cfmx\av.cfmx.ServerConfig.properties. Refer to Files Automatically Backed Up During Uninstall.
Note:- You must enter values in SSO Cookie Domain, SMTP Mail Server Name and SMTP Mail Server Port Number. The Port Bind Base field is the base number for all other ports except HTTP and HTTPS ports. The value must typically be a single-digit or double-digit between 1~65 (such as 2, 3, etc.), and becomes the “thousands” prefix for all other pre-defined values. The Port Bind Base concept applies to the setup of other Accela products. Each Accela product if installed on the same server should have a unique base.
- Use the broadest part of your domain when entering the SSO Cookie Domain values. For example, if your host name is aa.prod.accela.com, your SSO Cookie Domain must be .accela.com.
- Click Next to complete the ColdFusion MX web server
configuration.
The Set up Web Server screen displays.

- Enter configuration parameter values for the Civic Platform web server.
To use the parameter values from a previous installation, get the values stored in \\Accela_backup\<version>\av.cfmx\av.cfmx.ServerConfig.properties. Refer to Files Automatically Backed Up During Uninstall.
Note:If the web server is on the same host as the application server, they have the same IP address, use a different HTTP port number and HTTPS port number from the ones used for the application server.
- Click Next to complete the web server configuration.
Index Server
This enables the global search function in Civic Platform.
- Navigate to the screen to select components. (see Install Civic Platform Base).
- Select Index Server, then click
Next.
The Index File Location screen displays.

- Click Browse and change the folder name from Index to Accela Index, then click OK.
- Click Next.
The Set up Index Server screen displays.
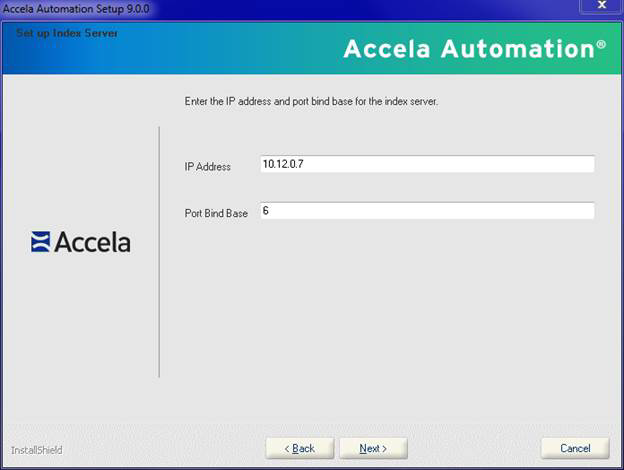
- Enter the IP address and Port Bind Base.
You can use the parameter values from your previous installation; these values are stored in \\Accela_backup\<version>\av.indexer\ServerConfig.properties. Refer to Files Automatically Backed Up During Uninstall.
- Click Next to complete the index server configuration.
Application Server
To configure the application server:
- Navigate to the screen to select components. (see Install Civic Platform Base).
- If you selected to load configuration values from an existing Civic Platform
instance and the instance contains customized SSO adapter files, the installer
requires you to select whether to use the existing SSO adapter files.
Note:If the installer detects no existing SSO adapter files to copy, the installer skips this step, and copies default SSO adapter files to the application server.
Because the installer copies the SSO adapter files to both the web server and the application server, you must select the same option in the SSO Adapter Setting screen for both the web server installation and the application server installation.
The SSO Adapter Setting screen displays.
- Click Yes to copy the SSO adapter files from the existing instance.
- Click No to copy default SSO adapter file to the web server.
- Click Next.
The Set Up Application Server screen displays.

- Enter configuration parameter values for the Civic Platform application server.
You can use the parameter values from your previous installation; these values are stored in \\Accela_backup\<version>\av.biz\ServerConfig.properties. Refer to Files Automatically Backed Up During Uninstall.
Note:Only select Email password verification if your mail server requires that you use a user name and password to send email. Otherwise leave the check box unchecked and leave the SMTP User Name and Password fields blank.
Note:The Accela wireless server communicates with the Accela application server through port 3080 in the current Accela hosted solution. Use 3 as the Wildfly binding port base for the application server.
- Click Next.
Reporting Server
|
Note:
The reporting server is the same as the Accela Report Writer (ARW) server. |
To configure the reporting server:
- Navigate to the screen to select components. (see Install Civic Platform Base).
- Select Reporting Server, then click
Next.
The Set up Reporting Server screen displays.

- Enter configuration parameter values for the Civic Platform reporting
server.
Note:If the reporting server is on the same host as the application server, they have the same IP address, use a different HTTP port number from the one used for the application server.
- Click Next.
Application Server Database
This section provides instructions to configure the application server database when you select the Database Install/Upgrade option (see Managing a Civic Platform Configuration). This procedure supports configuration of Oracle or SQL Server database servers.
To configure the application server database:
- Navigate to the screen to select components. (see Install Civic Platform Base).
- Select Database Install/Upgrade, then click Next.
-
The Select Database Type for Civic Platform screen displays.

- Select the database server type.
- Click Next.
The Civic Platform installer may prompt you about whether you already installed a database.

- Click Yes or No.
-
Click No if you have not yet installed a database.
The installer returns to the Select Civic Platform Components window.
Select the Database Install/Update option to install a database (see Managing a Civic Platform Configuration).
OR
-
Click Yes if you have an existing instance of a database that you want to upgrade.
-
- Configure an Oracle database (see The Set up Civic
Platform Oracle Database screen) or SQL Server (see The Setup Civic
Platform MS SQL Server Database screen) database.
Figure: The Set up Civic Platform Oracle Database screen
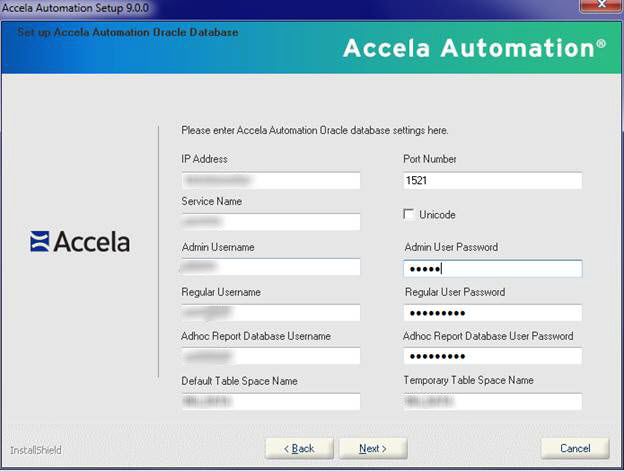
Note: For the Regular User Password and Adhoc Report Database User Password fields, do not include special characters such as !, #, -, _, etc. If your agency has a security policy that requires passwords to have special characters, passwords can be changed after the Civic Platform installer has created the database users.Figure: The Setup Civic Platform MS SQL Server Database screen

Note: For the Regular User Password and Adhoc Report Database User Password fields, do not include special characters such as !, #, -, _, etc. If your agency has a security policy that requires passwords to have special characters, passwords can be changed after the Civic Platform installer has created the database users. - Enter parameter values for the Oracle database server or the SQL Server database
server.
Note:If you mark Bypass Database Validation, the installation program does not validate the database settings before continuing to the next step. Unicode is for I18N multilingual support.
- Click Next.
Reporting Server Database
This section provides instructions to configure the reporting server database when the you de-select the Database Install/Upgrade option (see Managing a Civic Platform Configuration). This procedure supports configuration of Oracle or SQL Server database servers.
To configure the reporting server database:
- Navigate to the screen to select components. (see Install Civic Platform Base).
- Deselect Database Install/Upgrade, then click
Next.
The Select Database Type for Reporting Server screen displays.
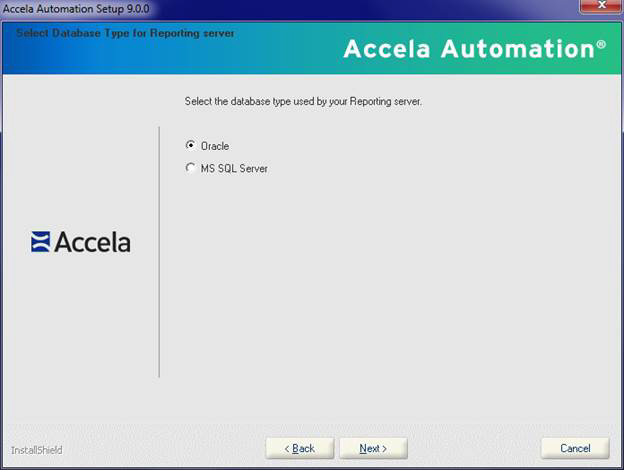
- Select the database server type.
- Click Next.
The Civic Platform installer may prompt you about whether you already installed a database.
- Click Yes or No.
-
Click No if you did not install a database yet.
The installer returns to the Select Civic Platform Components window.
Select the Database Install/Update to install/update a database (see Managing a Civic Platform Configuration).
OR
-
Click Yes if you installed a database.
-
- Configure an Oracle (see The Set up Civic
Platform Oracle Database screen) or SQL Server (see The Setup Civic
Platform MS SQL Server Database screen) database for the reporting server.
Figure: The Set up Reporting Oracle Database screen
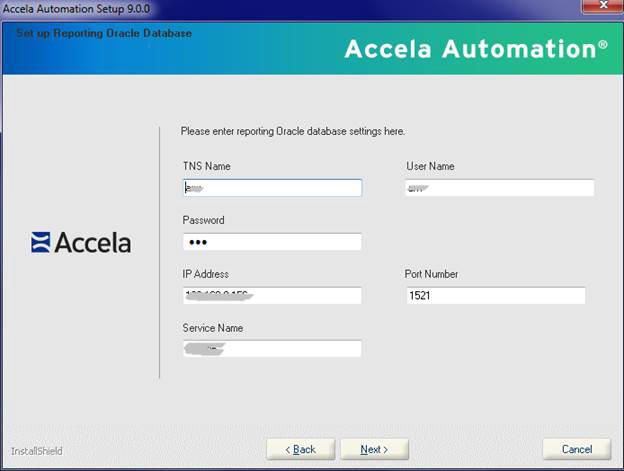
Figure: The Set up Reporting MS SQL Server Database screen
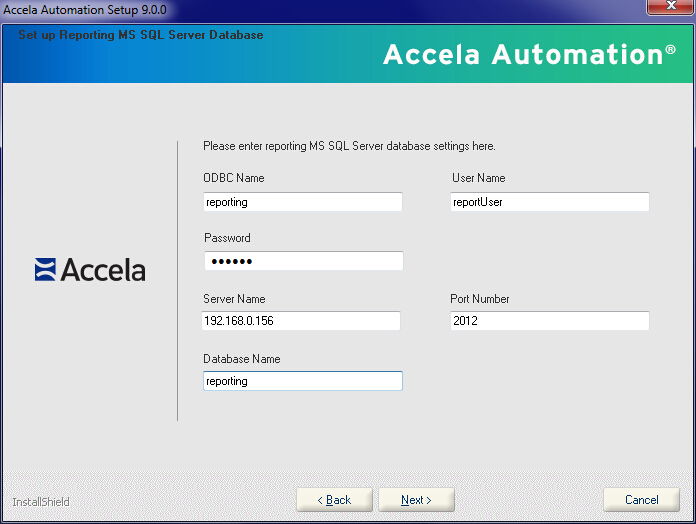
- Enter configuration parameter values for the Oracle database server or the SQL Server database server.
- Click Next.
New or Upgraded Database
This section provides instructions to configure the database when the you select the Database Install/Upgrade option (see Managing a Civic Platform Configuration). This procedure supports configuration of Oracle or SQL Server database servers.
After you select the database type (Oracle or MS SQL Server), configure a new or upgraded database.
Configure a new or upgraded Oracle database server:
Figure: Set up Civic Platform Oracle Database Screen
- Enter appropriate values for the listed configuration parameters. See Configuration Checklist for example values.
If the entered database does not exist, the installer creates a new 19.1.0 Oracle database with the entered name. Otherwise, the installer upgrades the existing database to version 19.1.0.
- Click Next.
The Set up Jetspeed Oracle Database screen displays.
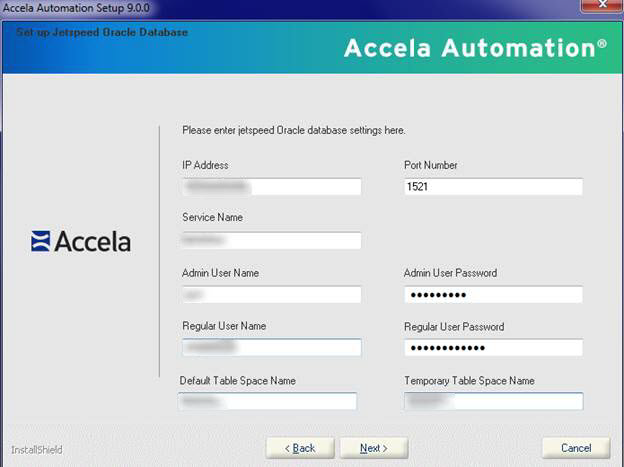
Note: For the Regular User Password field, do not include special characters such as !, #, -, _, etc. If your agency has a security policy that requires passwords to have special characters, passwords can be changed after the Civic Platform installer has created the database users. - Enter appropriate values for the listed configuration parameters. See Configuration Checklist for example values.
If the entered database does not exist, the installer creates a new 19.1.0 Jetspeed database with the entered name. Otherwise, the installer upgrades the existing database to version 19.1.0.
- Click Next, and verify the database connections and
database settings.
The installer displays the following series of message boxes with the verification results of the database settings.

This error message displays if you entered an invalid IP, port number, or service ID.

This error message displays if you entered an invalid SYS user name or password.
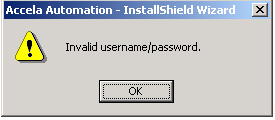
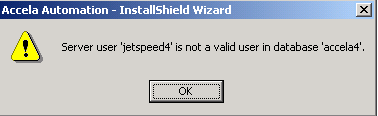
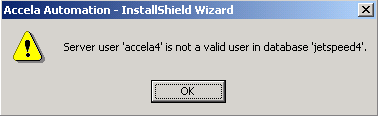
This error message displays if you entered an invalid regular, ad hoc, or Jetspeed login user name.
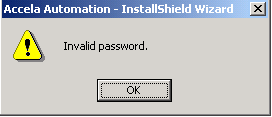
This error message displays if you entered an invalid regular, ad hoc, or Jetspeed login password.
This error message displays if you selected Database Install/Upgrade and then entered an invalid regular, ad hoc, or Jetspeed login user name or password.
This error message displays if you did not select Database Install/Upgrade and entered a new Civic Platform user account.

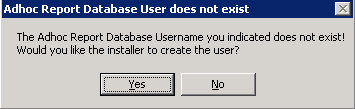
This error message displays if you did not select Database Install/Upgrade and entered a new ad hoc user account.
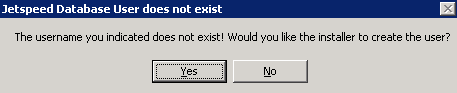
This error message displays if you did not select Database Install/Upgrade and entered a new Jetspeed user account.
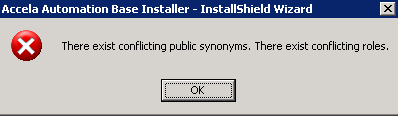
This error message displays if there are conflicting public synonyms and roles.
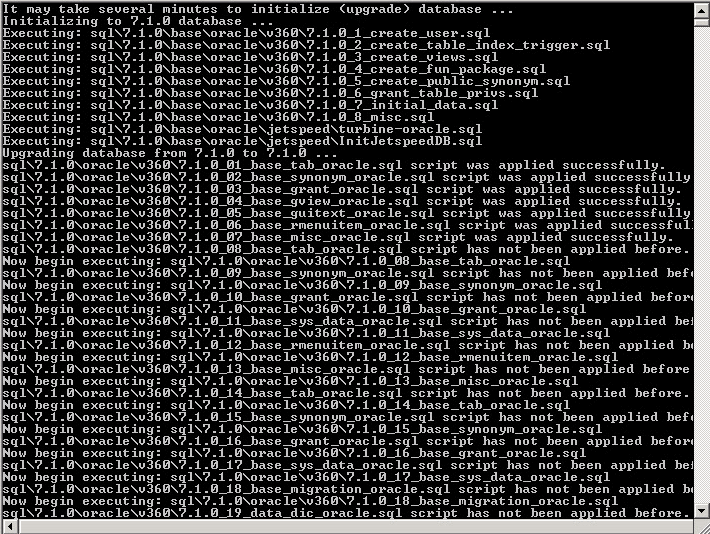
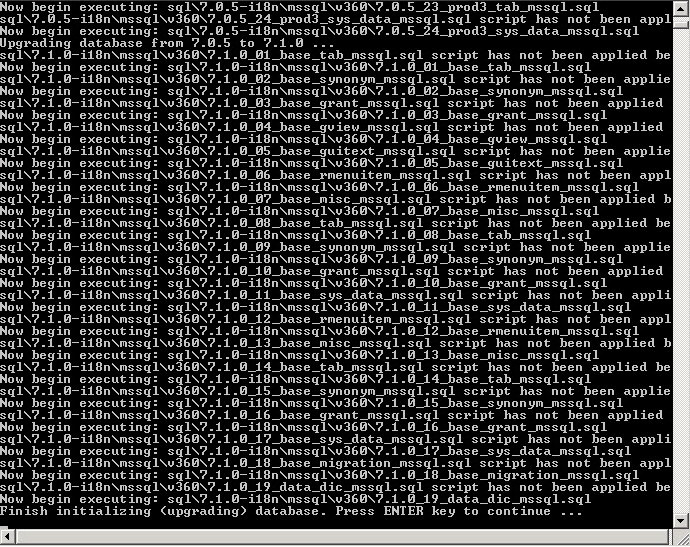
This message displays indicating the installer is installing or upgrading the database.

The following command prompt window illustrates the running procedure:
- After the database creation process completes, check the summary information
about the executed SQL scripts in the
log file.<InstallDir>\installSQLUtility\log\DBUpgradeScriptLog.txt
Configure a new or upgraded MS SQL database:
Figure: Set up Civic Platform MS SQL Server Database Screen
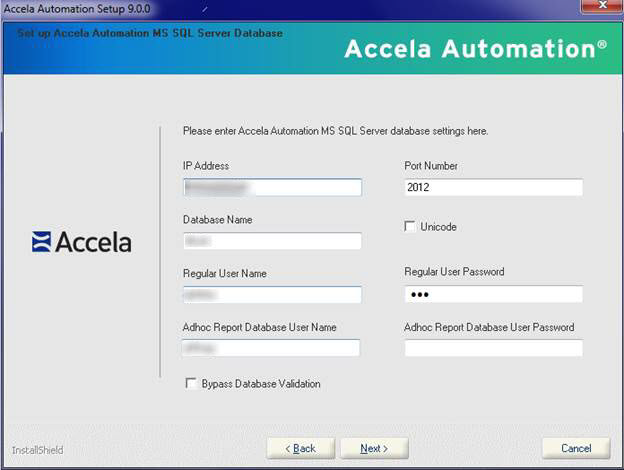
- Enter appropriate values for the listed configuration parameters. See Configuration Checklist for example values.
Note:If you are using MS SQL 2005 you can enter the IP\instance name for the IP address field.
If the entered database does not exist, the installer creates a new 19.1.0 MS SQL Server database with the entered name. Otherwise, the installer upgrades the existing database to version 19.1.0.
- Click Next.
If you selected Web Server or Application Server components without selecting the Database Install/Upgrade component (see Managing a Civic Platform Configuration), the Database Install Reminder appears in a message box.

- Click Yes.
Note:Click No to install a Civic Platform database (see Managing a Civic Platform Configuration).
The Set up Jetspeed MS SQL Server Database screen displays.

- Enter appropriate values for the listed configuration parameters. See Configuration Checklist for example values.
Note:If using MS SQL 2005 you can enter IP\instance name for the IP address field.
If the entered database does not exist, the installer creates a new 19.1.0 Jetspeed database with the entered name. Otherwise, the installer upgrades the existing database to version 19.1.0.
- Click Next.
- The installer displays the following series of message boxes with the
verification results of the database settings.

This error message displays if you entered an invalid IP, port number, or database name.

This error message displays if you entered an invalid admin user name or password.
This error message displays if you entered an invalid regular, ad hoc, or Jetspeed login user name.
This error message displays if you entered an invalid regular, ad hoc, or Jetspeed login password.
This error message displays if you entered an invalid regular, ad hoc, or Jetspeed login password for the second time.
This message requests that you enter a new Civic Platform database.
This message requests that you enter a new Civic Platform regular user account.
This message requests that you enter a new ad hoc user account.
This message requests that you enter a new Jetspeed user account.
This message requests that you enter an existing Jetspeed user account for Civic Platform database.
This message requests that you enter an existing Jetspeed user account for Jetspeed database.
This message displays if you entered an invalid database.

This error message displays if you did not select Database Install/Upgrade.

The following command prompt window illustrates the running procedure:

- After the database creation process completes, check the summary information
about the executed SQL scripts in the
<InstallDir>\installSQLUtility\log\DBUpgradeScriptLog.txt log
file.
For each database upgrade script, a similar screen like the one below displays.
If you run the installer repeatedly, the following DOS window displays.

Accela Document Service (ADS)
To configure the ADS server:
- Access the ADS server configuration by selecting the Accela Document
Service (ADS) check box in the Select Civic Platform Components
screen (see Managing a Civic Platform
Configuration).
The ADS Server Setup screen displays.

- Enter appropriate values for the listed configuration parameters. See Configuration Checklist for example values. At a minimum, enter the ADS sever IP Address, HTTP port, and Wildfly bind port base number for the ADS server host.
- Click Next.
The Select Database Type for ADS Server screen displays.
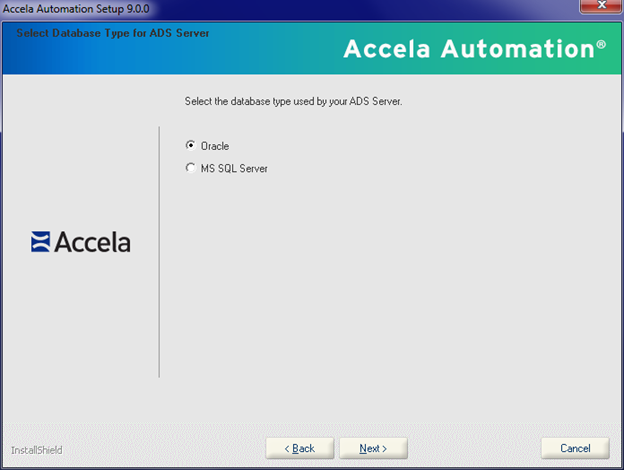
- Select Oracle or MS SQL Server.
-
Select Oracle.
- Click Next.
The Set up ADS Server Oracle Database screen displays.
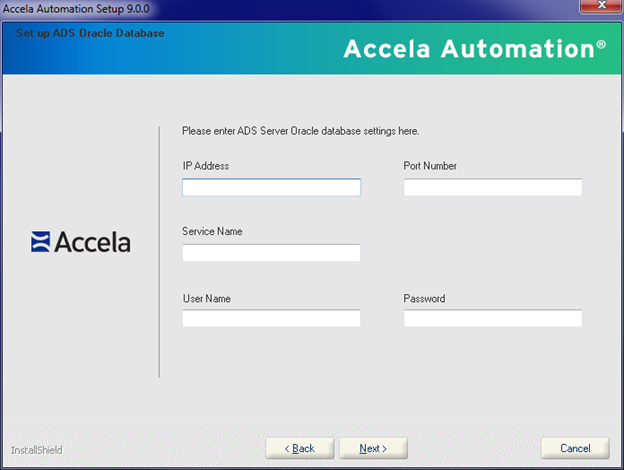
- Enter appropriate values for the listed configuration parameters. See Configuration Checklist for example values.
- Click Next.
-
Select MS SQL.
- Click Next.
The Set up ADS MS SQL Server Database screen displays.

- Enter appropriate values for the listed configuration parameters. See Configuration Checklist for example values.
- Click Next.
-
- The ADS configuration is complete. Click Next (see Installing Civic Platform Components).
API Server
- Navigate to the screen to select components. (see Install Civic Platform Base).
- Select Api Server, then click Next.
- Enter the parameter value settings for the API server.
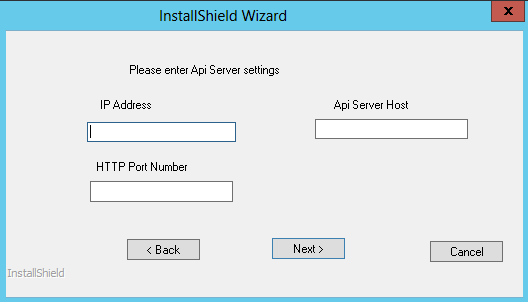
- Click Next.