Installing Accela Document Scan
To install Accela Document Scan:
Get the Accela Document Scan client installer (Accela_Document_Scan_Client_19.1.0.exe) from the Accela FTP site and copy it to the workstation.
Confirm that the workstation is attached to at least one TWAIN-compliant scanner, and that the applicable scanner software has been installed on the workstation.
Locate the installer in your file browser, and double-click the file to launch the client installer.
Note:If the workstation runs on a Windows 7 operating system, you may see a security warning message displayed, asking you if you want to allow Accela Document Scan to make changes to your computer. Click Yes to continue with the installation.
The InstallShield Wizard for Accela Document Scan launches and the Welcome screen displays.
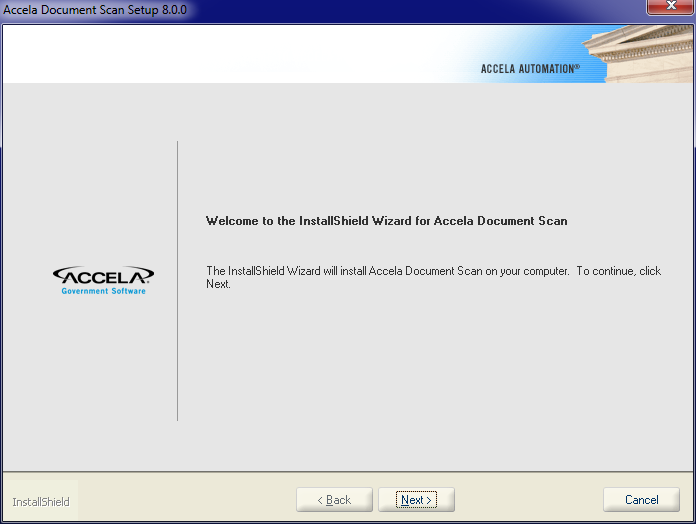
Click Next.
The License Agreement page displays.
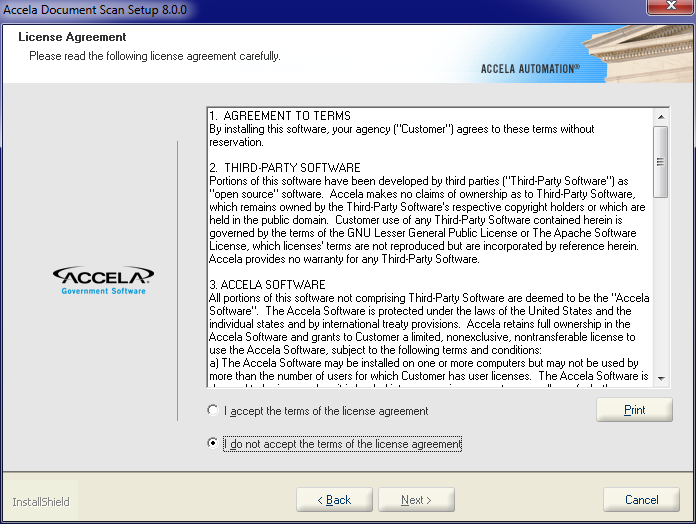
Read the agreement and select “I accept the terms of the license agreement” to continue.
Note:If you do not want to accept the terms of the agreement, the installation cannot proceed. Click Cancel to exit the installer.
Click Next.
The Customer Information page displays.
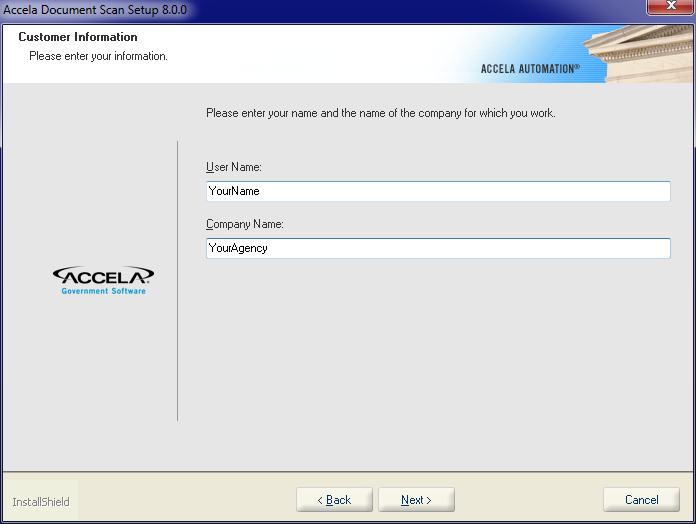
Enter your name and the name of your agency in the boxes provided.
Click Next.
The Installation wizard checks scanner availability and then lists available scanners.
From the drop-down list, choose the scanner you want to use for the current workstation.
Click Next.
The Choose Destination Location window displays.
Click Browse if you want change the location where you want to install Accela Document Scan. Otherwise, click Next to accept the default installation location.
The Ready to Install window displays.
Click Install to proceed with the installation.
Click Finish when the installation completes.