You must remove previous versions of Civic Platform base and application prior to
installing Civic Platform 19.1.0.
Use the Windows Add/Remove Programs utility to remove a Civic Platform instance.
Note: We highly recommend that you do not install Civic Platform 19.1.0 on the same
server as any previous version. If you plan to keep your 8.0.x installation, you
must install 19.1.0 on a different server.
If you want to use the configuration of the to-be-removed instance as the basis for a new
instance, change the name of the configuration folder of the to-be-removed instance
first. See Renaming Your Configuration Folder.
Stop all Civic Platform processes before invoking the
Add/Remove Programs utility and close down all Civic Platform files in
use. You can stop processes from the Windows services application or
from he Command prompt.
To remove a Civic Platform instance:
Go to Control Panel > Programs >
Uninstall a Program.
Select Accela Automation Application <version>, and then
click Uninstall.
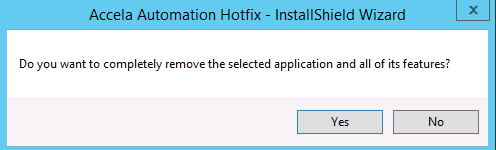
The Install Shield Wizard asks you to
confirm the removal.
Click Yes.
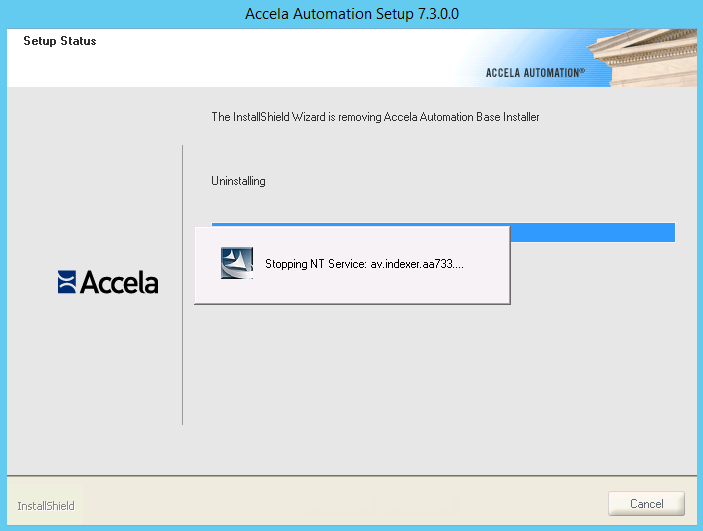
The uninstallation process
begins and a series of status messages display.
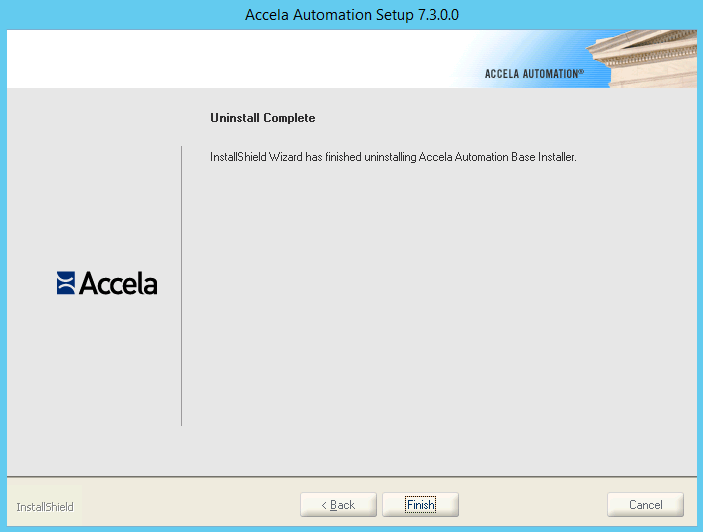
The Uninstall Complete screen displays.
Click Finish.
The uninstallation process completes and you
are returned to the Control Panel.
Repeat these steps for the Accela Automation Base
<version> prior to installing Civic Platform 19.1.0.