Allocating Set Payments
Using set functionality, you can accept and allocate payments made toward the fee items that belong to any record within a record set, saving time and improving efficiency.
You can accept full or partial payment towards the total outstanding balance for all records within the set (you cannot accept a payment that exceeds the total outstanding balance). After entering the payment amount, you can determine what amount of the total payment you want to allocate to each fee item within the set.
Civic Platform summarizes the set, including the following information:
Total number of records in the set
Number of fee items that have been paid
Total job value of all records in the set
Total fees that have been assessed and invoiced for the set
Any payments that have been made toward the set
Outstanding balance for all records in the set.
Note:Before you can save set payment information, you must start a cashier session. For information about managing cashier sessions, see Working with a Cash Drawer Interface. For more information about accepting and allocating set payments, see Accepting and Allocating Set Payments.
To accept and allocate set payments
Navigate to the Set portlet.
Civic Platform displays the portlet.
Use Search to locate the set you want to work with.
Civic Platform displays the search results in the Set ID portlet.
Click the link in the Set ID column for the Set you want.
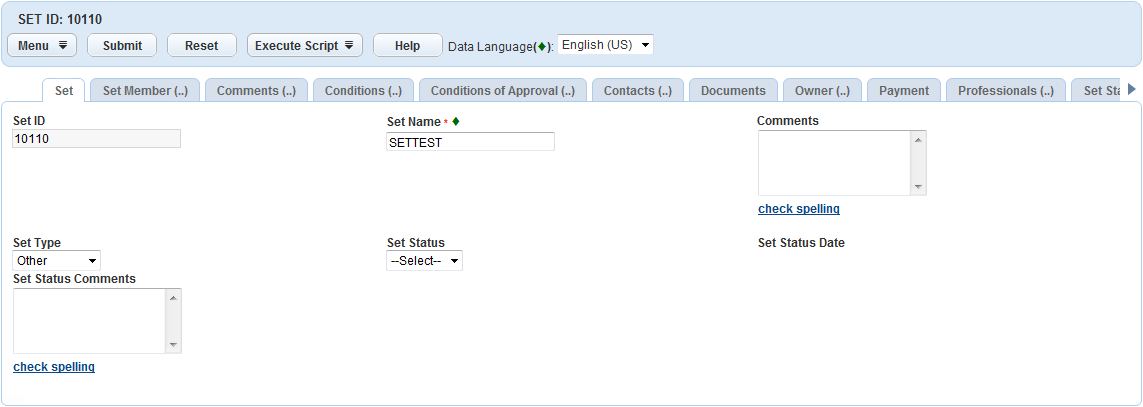
Civic Platform displays the Set ID detail portlet.

Click the Payment tab.
Civic Platform displays the Set Payment detail portlet.
Click Pay.
Note:Your agency administrator must enable Standard Choice, Allow_Negative_Fee_Transfer_As_Credit, in order to process a negative fee item on a record in a set.
The Set Payment detail portlet displays.
Complete the fields with available data as required. See Payment Details for a Set for field definitions.
Click Submit.
If you did not start a cashier session yet, Civic Platform displays a cashier session pop-up window. See Working with a Cash Drawer Interface for more information.
Civic Platform displays a Set Payment Allocation pop-up window.
If you are receiving a payment for the entire balance, click Full Pay.
If you are receiving only partial payment, determine what part of the payment you want to allocate to each fee item and enter that amount in the Amount field for each fee item.
Click Submit.
Civic Platform generates a receipt summarizing the payment. A set payment has a unique set receipt number; the payment for each individual record has its own receipt number as well. You can print this receipt or save it to a file, as necessary.
If your agency uses a cash drawer and receipt printer, Civic Platform prints a receipt and displays the itemized receipt in a pop-up window.
If Civic Platform displays the receipt in a pop-up window so you can print the receipt as needed. Close the window when you finish.
If payment method = Check and your agency uses a receipt printer, insert the check in the printer to print the endorsement on the check.
If payment method = Cash and the payment amount is more than the amount due, Civic Platform calculates the amount of change due.